
Installing Vinyl Tile Flooring – A Complete Step-by-Step Guide
Are you thinking of upgrading your bathroom or kitchen? Installing vinyl tile flooring is one of the best ways to achieve a modern, durable, and affordable makeover. Vinyl tiles are stylish, water-resistant, and simple to install, even for DIY beginners. With the right tools, preparation, and guidance, you can transform your space without breaking the bank.
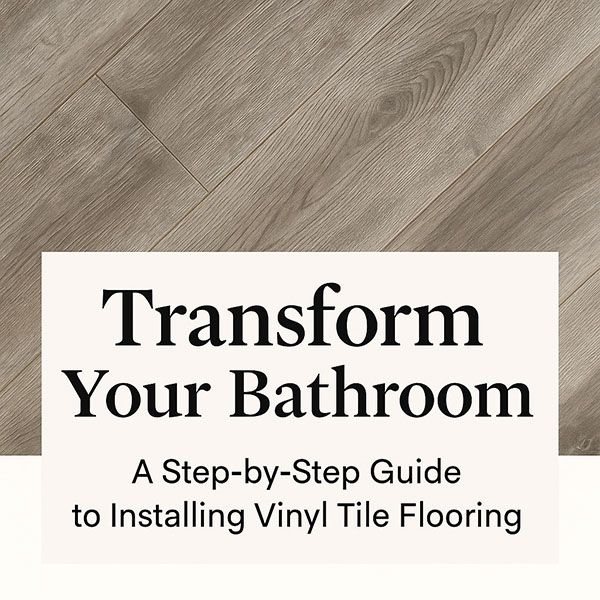
This guide will walk you through everything you need to know about installing vinyl tile flooring in South Africa. From preparation tips to installation techniques, cutting advice, and aftercare, you’ll gain confidence to complete the project successfully.
For more options, explore our full vinyl flooring collection or compare alternatives in our laminate flooring section.
Why Choose Vinyl Tile Flooring?
Vinyl tile flooring has become a go-to choice for homeowners across South Africa. It offers the look of natural wood or stone at a fraction of the cost. Beyond its aesthetic appeal, vinyl is highly practical:
- Water-resistant – perfect for bathrooms, kitchens, and basements.
- Durable – built to withstand heavy foot traffic and daily wear.
- Affordable – a cost-effective alternative to hardwood or ceramic tiles.
- Easy to maintain – simple cleaning keeps it looking fresh.
- DIY-friendly – many vinyl tiles come with click-lock or peel-and-stick systems.
For a breakdown of flooring prices and comparisons, visit our laminate flooring price guide.
Tools and Materials You’ll Need
Before installing vinyl tile flooring, gather the right tools. Having everything ready makes the process smoother and avoids costly mistakes.
- Utility knife or vinyl tile cutter
- Measuring tape and chalk line
- Straight edge or ruler
- Adhesive (if using glue-down tiles)
- Seam roller
- Spacers (for expansion gaps)
- Cleaning supplies (broom, mop, or vacuum)
If you’re not sure which underlay or trims to use, explore our laminated floors page for guidance.
Preparing Your Space
Preparation is one of the most important steps when installing vinyl tile flooring. A clean, level surface ensures the tiles fit snugly and last longer.
- Clear the room – remove furniture, appliances, and old flooring.
- Inspect the subfloor – check for cracks, dips, or uneven spots.
- Clean thoroughly – sweep, vacuum, and mop to remove dust and debris.
- Dry completely – moisture trapped under tiles can cause problems later.
For concrete subfloors, patch any cracks and level the surface with self-levelling compound. For wooden subfloors, ensure all boards are secure and flat.
Step-by-Step Installation
Once your space is ready, follow these steps to install vinyl tile flooring like a pro:
- Plan your layout
- Measure the room carefully.
- Snap chalk lines to mark the center, ensuring tiles are evenly distributed.
- Start from the center
- Begin laying tiles along the center lines and work outward.
- This creates symmetry and reduces visible cuts along the walls.
- Apply adhesive or click tiles together
- For glue-down vinyl, spread adhesive evenly using a notched trowel.
- For peel-and-stick or click-lock tiles, simply align and press firmly.
- Press and secure
- Use a seam roller to press down tiles and remove air pockets.
- Check alignment regularly to avoid gaps.
- Leave an expansion gap
- Place spacers around walls to allow tiles to expand naturally.
Cutting and Fitting Vinyl Tiles
Not every room has perfect dimensions. Corners, door frames, and edges require custom cuts.
- Measure twice, cut once – always double-check measurements before cutting.
- Use a straight edge – place it on the tile and score with a utility knife.
- Snap the tile – bend along the scored line for a clean cut.
- Templates help – use cardboard to trace tricky shapes before cutting tiles.
Adhesion and Sealing
Strong adhesion is key to long-lasting vinyl tile flooring.
- For glue-down tiles, let the adhesive set slightly before pressing tiles into place.
- Use a seam sealer for added water protection, especially in bathrooms.
- Roll over seams with a seam roller to ensure a tight bond.
This step prevents peeling and increases durability in high-moisture zones.
Aftercare and Maintenance
Installing vinyl tile flooring is just the start. Proper maintenance will keep your floor looking new for years.
- Sweep or vacuum regularly to remove dust and dirt.
- Mop with a damp cloth and mild cleaner (avoid harsh chemicals).
- Wipe spills immediately to prevent staining.
- Use felt pads under furniture to avoid scratches.
- Place doormats at entrances to reduce dirt and grit.
For more flooring care tips, visit our laminate floors homepage.
Common Mistakes to Avoid
Many DIY installers make simple mistakes that can affect the finish. Avoid these pitfalls:
- Skipping subfloor preparation – uneven floors cause gaps and lifting.
- Not leaving expansion gaps – vinyl can buckle without space to move.
- Using the wrong adhesive – always choose the type specified by the manufacturer.
- Rushing cuts – uneven edges can spoil the final look.
- Overusing water during cleaning – excessive moisture may weaken seams.
Cost of Installing Vinyl Tile Flooring
Vinyl flooring offers one of the best cost-to-value ratios in the market. While prices vary depending on quality, design, and brand, installation is still more affordable than hardwood or ceramic.
In South Africa, basic vinyl tile prices start low, while premium SPC or luxury vinyl planks cost more but deliver superior performance. Compare options in our vinyl flooring section and laminate flooring price guide.
Installing Vinyl Tile Flooring – DIY or Professional?
The beauty of vinyl tile flooring is that many homeowners can install it themselves with patience and the right tools. However, hiring a professional ensures flawless results, especially in complex rooms.
If you want a quick, worry-free finish, consider professional installation. But if you enjoy DIY projects and want to save on labour, installing vinyl tile flooring yourself can be both rewarding and cost-effective.
Conclusion
Installing vinyl tile flooring is one of the most effective ways to upgrade your home. It’s stylish, affordable, and practical for both dry and wet areas. With careful planning, proper tools, and the right technique, even first-time DIYers can achieve professional results.
Whether you’re drawn to its water resistance, durability, or low maintenance, vinyl tile flooring offers a reliable solution for modern homes in South Africa. Explore our full vinyl flooring collection today and take the first step toward transforming your space.
- By: " >
- Tags: Luxury Vinyl Plank Flooring, Vinyl Flooring Installation
- Category: Flooring, Flooring Trends in South Africa, Vinyl Flooring Advice
- 0 comment

Leave a Reply